Blue cheesecake ice cream with blueberries in the Thermomix

Who does not love the creamy, sweet experience of a cheesecake? When we add delicious blueberries and transform everything into a refreshing ice cream, we have the perfect dessert! And the best part is, we prepare it with our beloved Thermomix. In this article, we show you step by step how you can create this sensational ice cream. Get ready to enchant your taste buds!
Why Cheesecake Ice Cream with Blueberries?
Imagine enjoying the rich, creamy taste of cheesecake and the fruity kick of blueberries in a cool and refreshing ice cream. Sounds heavenly, right? This recipe combines the best of both worlds and offers a dessert that both kids and adults will love.
Health Benefits of Blueberries
Blueberries are not only delicious, but also incredibly healthy. They are rich in antioxidants, vitamins, and fiber. These little berries help boost the immune system, promote digestion, and can even support brain function. So now we have another reason to enjoy this ice cream!
Ingredients
- 200 g Cream Cheese
- 100 g Sugar
- 200 ml Cream
- 1 tsp Vanilla Extract
- 200 g Blueberries (fresh or frozen)
- 1 tbsp Lemon Juice
- 200 ml Milk
- 2 Eggs
- 50 g Powdered Sugar
- 6 Butter Cookies
Instructions for Cheesecake Ice Cream with Blueberries
Step 1: Preparing the Ingredients
Make sure all ingredients are measured and ready. This will make the process easier and ensure everything runs smoothly.
1. Prepare the Blueberries
Place the blueberries in a small saucepan, add lemon juice and powdered sugar, and simmer over medium heat until soft and a thick sauce forms.
2. Crush the Cookies
Place the butter cookies in a plastic bag and crush them with a rolling pin until finely ground.
Step 2: Prepare the Mixture
1. Crack the Eggs
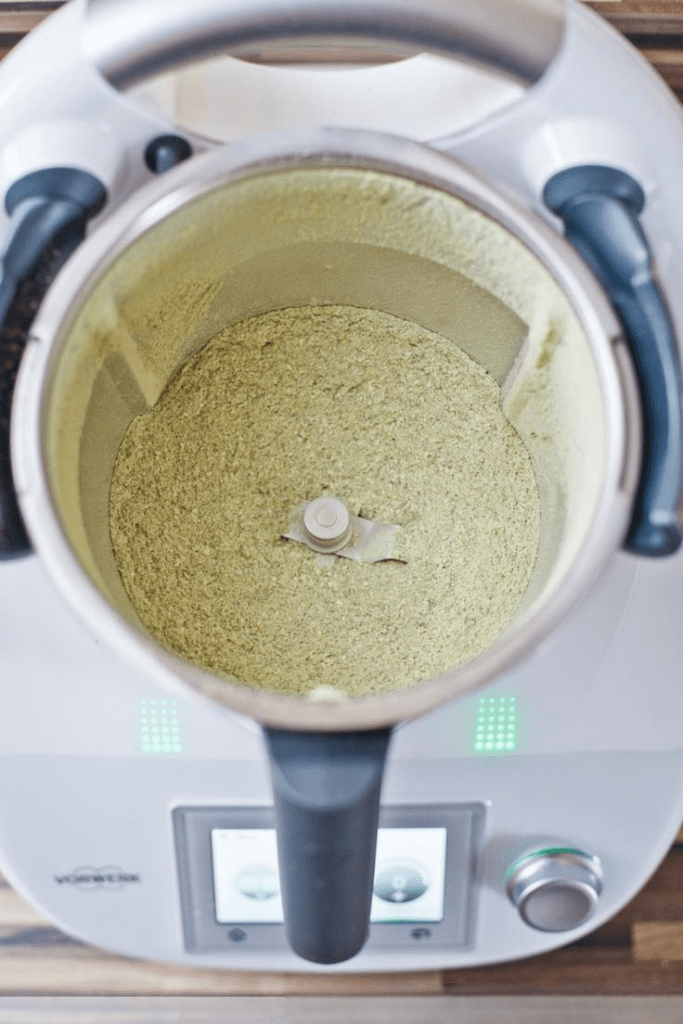
Add the eggs to the Thermomix bowl and beat at speed 4 for 2 minutes.
2. Add Sugar and Cream Cheese
Add sugar and cream cheese to the eggs and mix at speed 3 for 1 minute until the mixture is creamy.
3. Stir in Cream and Milk
Add cream, milk, and vanilla extract to the mixture and mix for an additional 2 minutes at speed 3.
Step 3: Chill the Mixture
Transfer the prepared mixture to a container and chill in the refrigerator for at least 2 hours.
Step 4: Freeze the Mixture
Transfer the chilled mixture to the ice cream maker and freeze according to the manufacturer's instructions. When the ice cream maker stops, fold in the cooked blueberries and crushed cookies and mix briefly again until everything is well distributed.
Alternative without an Ice Cream Maker
If you do not have an ice cream maker, you can transfer the mixture to a freezer-safe container, place it in the freezer, and stir every 30 minutes until the desired consistency is achieved.
Frequently Asked Questions (FAQs)
1. Can I use frozen blueberries?
Yes, frozen blueberries work just as well as fresh ones. Make sure to thaw them beforehand and drain off any excess juice.
2. Can I use other fruits?
Of course! Strawberries, raspberries, or peaches would also be fantastic alternatives.
3. How long can I store the ice cream?
Stored in the freezer, the ice cream will last about 2 weeks. Make sure the container is tightly sealed.
4. Can I double the recipe?
Yes, you can easily double the amounts if you need larger quantities. Make sure your ice cream maker has the capacity.
5. Can I omit the cookies?
The cookies add a nice texture, but if you prefer to omit them, the recipe will still work amazingly well.
Don’t miss a recipe!
Get all new recipes in your email inbox every week
Your email will be used exclusively to send recipes. You can unsubscribe at any time, and your email will never be shared with third parties